Injection molding is one of the most widely used manufacturing processes for producing plastic parts at scale. Whether you're developing a new consumer product, automotive component, or industrial equipment part, understanding the cost structure of plastic injection molding is essential.
Understanding the Basics of Injection Molding
Injection molding is a manufacturing process in which molten plastic material is injected under high pressure into a mold cavity. Once cooled and solidified, the part is ejected and ready for use or further processing. This method is known for its precision, repeatability, and efficiency, especially for high volume production runs.
The core components of an injection molding system include:
The mold , which defines the shape and surface finish of the final part
The injection unit , responsible for melting and injecting the plastic
The clamping unit , which holds the mold closed during the injection process
Because of its versatility and scalability, plastic injection molding is widely adopted across various industries, including automotive, electronics, medical, and packaging.
Why Do People Ask If Injection Molding Is Expensive?
Many people associate injection molding with high initial costs due to the need for custom tooling and mold design. While it's true that mold development can be a significant upfront investment, the overall cost per unit drops dramatically as production volume increases.
This makes injection molding particularly attractive for large-scale manufacturing, where the benefits of automation, fast cycle times, and consistent quality outweigh the initial setup expenses.
What Determines the Cost of Injection Molding?
Several variables influence whether injection molding is expensive . Here are the main factors:
1. Mold Design and Tooling Costs
The creation of the mold is often the largest single expense in an injection molding project. Mold complexity, size, and the number of cavities directly affect the cost. For example, molds used in car mold production may require advanced engineering to accommodate complex shapes and tight tolerances.
Molds can be made from different materials:
Aluminum – Lower cost and faster to machine, suitable for small to medium production runs
Steel – More durable and heat-resistant, ideal for long-term, high-volume production
Custom mold design also includes considerations such as gate placement, cooling channels, and ejection systems — all of which contribute to the final price.
2. Material Selection and Resin Pricing
The type of plastic resin used significantly impacts the overall cost. Common materials in plastic injection molding include:
Polypropylene (PP) – Low-cost, flexible, and chemical-resistant
ABS (Acrylonitrile Butadiene Styrene) – Durable and easy to work with, commonly used in consumer products
Polycarbonate (PC) – High impact strength and transparency, often used in safety gear and optical components
Nylon (PA) – Excellent mechanical properties, frequently used in automotive and industrial applications
Specialty resins — such as those that are medical-grade, flame-retardant, or UV-stable — will naturally increase the total material cost.
3. Production Volume and Economies of Scale
One of the biggest advantages of injection molding is that it becomes more cost-efficient as production scales up. Since the mold is already created, each additional part requires only raw materials and minimal labor.
For instance, producing 1,000 units might seem expensive initially, but if your order grows to 10,000 or 100,000 units, the per-unit cost drops significantly. This makes plastic injection molding especially economical for mass production environments, including car mold applications.
4. Automation and Labor Expenses
Modern injection molding facilities often use robotic arms and automated systems to reduce labor costs and improve consistency. Features such as automatic material feeding, part removal, and inline inspection help streamline operations and lower long-term expenses.
However, setting up these systems involves higher initial investment, which is typically justified only for long-term or high-volume projects.
5. Post-Processing and Finishing Requirements
Some molded parts may require additional steps after ejection from the mold, such as trimming excess flash, painting, coating, or assembly. These finishing touches add time and cost but are sometimes necessary to meet aesthetic or functional standards.
When planning a project, it's important to factor in any post-processing needs to avoid unexpected budget overruns.
How Injection Molding Compares to Other Manufacturing Methods
To better understand whether injection molding is expensive , it helps to compare it with alternative production techniques such as 3D printing, CNC machining, and blow molding.
Each method has its own strengths and weaknesses, but plastic injection molding stands out for its ability to produce large quantities of identical parts quickly and consistently. Unlike 3D printing, which is great for prototyping but not scalable, or CNC machining, which excels at metal parts but lacks economies of scale, injection molding offers unmatched efficiency for plastic mass production.
Key Applications of Injection Molding Across Industries
1. Automotive Industry and Car Mold Production
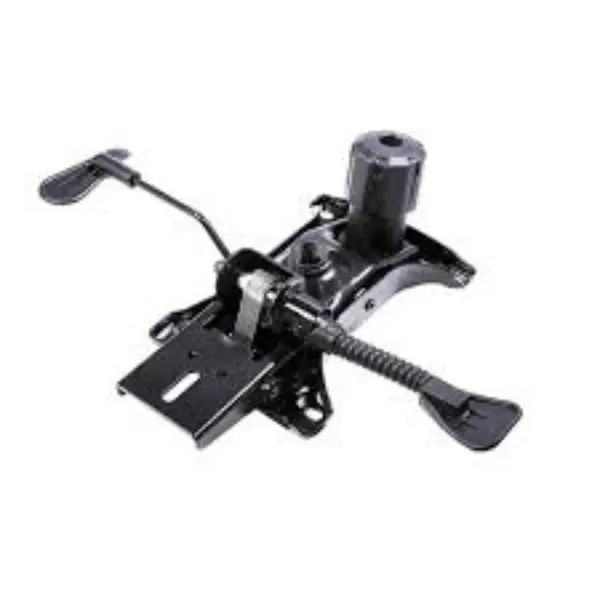
The automotive industry is one of the largest users of injection-molded plastic parts , especially through the use of car molds . Components such as dashboards, door panels, lighting housings, and air ducts are all manufactured using this method.
These parts must meet strict performance requirements, including resistance to temperature extremes, UV exposure, and chemical contact. Injection molding allows manufacturers to achieve high-quality finishes and structural integrity while maintaining cost-effectiveness for large production runs.
Many car mold producers specialize in creating multi-cavity tools capable of producing thousands of identical parts with minimal variation — making them ideal for OEM and aftermarket production.
2. Consumer Goods and Electronics Manufacturing
From smartphone cases to kitchen appliances, plastic injection molding is the go-to method for mass-producing durable, lightweight, and aesthetically pleasing products. Its ability to integrate textures, colors, and intricate details directly into the mold makes it ideal for branding and functionality.
In the electronics sector, injection-molded components are used for device housings, connectors, and protective casings. The process ensures dimensional accuracy and compatibility with electronic assembly lines.
3. Medical Device and Healthcare Products
In the medical field, injection molding is used to create sterile, biocompatible components such as syringes, surgical trays, and diagnostic device housings. Medical-grade resins and cleanroom production environments ensure compliance with FDA and ISO standards.
Because patient safety is paramount, medical device manufacturers rely on injection molding for its precision and ability to maintain tight tolerances and consistent quality.
4. Industrial and Engineering Applications
Heavy-duty machinery and equipment often rely on injection-molded components that can withstand wear, temperature extremes, and chemical exposure. Gears, housings, and protective covers are frequently produced using reinforced plastics for added strength.
In industrial settings, the durability and low maintenance of injection-molded parts make them a preferred choice over alternatives like metal casting or manual fabrication.
When Is Injection Molding Worth the Investment?
Despite the high initial costs, injection molding offers significant value in the following situations:
You're planning a medium to high-volume production run , typically above 1,000 units
Your product requires consistent quality, tight tolerances, and complex geometry
You want to reduce long-term production costs and improve scalability
You're targeting markets like automotive, healthcare, or consumer electronics , where car mold and other specialized molds are already established
In these scenarios, the higher upfront investment is offset by lower per-unit costs and greater efficiency over time.
Strategies to Reduce Injection Molding Costs
If you're concerned about the expense of plastic injection molding , here are some practical strategies to consider:
1. Optimize Part Design for Manufacturability
Simplify geometry, eliminate unnecessary undercuts, and ensure uniform wall thickness to reduce mold complexity and cycle times.
2. Use Standardized Resins When Possible
Unless your application requires specialty materials, stick with widely available resins like PP, ABS, or PS to keep material costs down.
3. Choose the Right Tooling Material
Aluminum molds are cheaper and faster to produce than steel, making them suitable for smaller runs. Steel molds last longer and are better for high-volume car mold production.
4. Plan for Scalability Early
Design your mold with future scaling in mind. Multi-cavity molds can be expanded later without redesigning the entire system.
5. Work with Experienced Manufacturers
Partnering with an experienced injection molding company can help avoid costly mistakes during mold design and production setup.
So, is injection molding expensive? The answer depends on your project's scope, timeline, and goals. While the initial investment — especially in mold design — can seem high, the long-term benefits of speed, precision, and scalability make plastic injection molding one of the most cost-effective manufacturing methods available today.
Whether you're producing everyday consumer goods or advanced car mold components for the automotive industry, understanding the cost drivers and optimizing your approach can lead to significant savings and improved product quality.
By carefully planning your project and leveraging the strengths of injection molding , you can achieve both economic efficiency and technical excellence — setting the stage for successful product development and market delivery.
Injection mold companies near me! Younger Mould is recognized as one of the leading global injection mold maker of car mold, renowned for our superior quality, innovative engineering, and trusted industry reputation. With a steadfast commitment to excellence, we have established enduring partnerships with clients worldwide. If you're in need of high quality 2k injection mold manufacture, we invite you to leave your contact information. Our dedicated team will offer you competitive pricing and tailored solutions to meet your unique requirements.